Garrett Griffin-Morales
This brief article follows up on our “How to Add Landing Pages to Workspaces” article that walked through the basic steps of creating a landing page. Here are a few items that might be of use to you as you are getting familiar with building a landing page:
Reordering pages and limiting page access
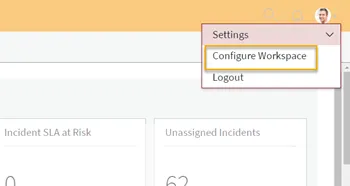
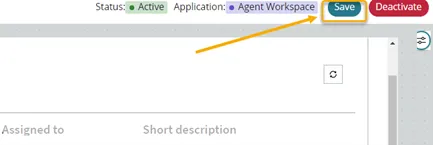
- If the Workspace record in the main ServiceNow window is still open, refresh its page. Otherwise, reopen it by clicking the profile icon in upper right of the Workspace and selecting “Configure Workspace”.
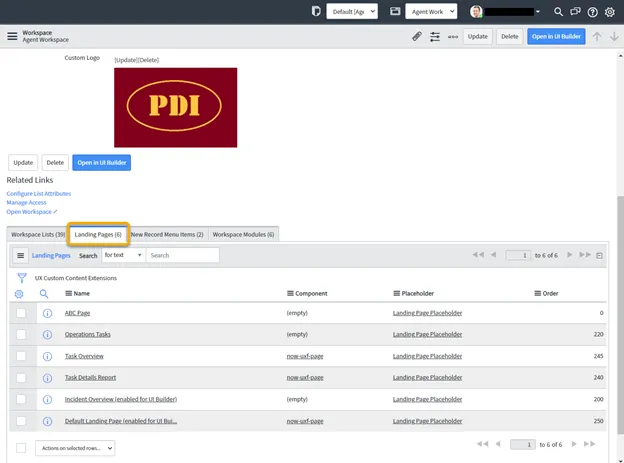
- View the “Landing Pages” related list at the bottom of the page. [Note: You can also get to a list of landing pages by searching for “landing pages in the Filter Navigator.] If the “Order” column is not showing, you can use the gear icon to add it to the list.
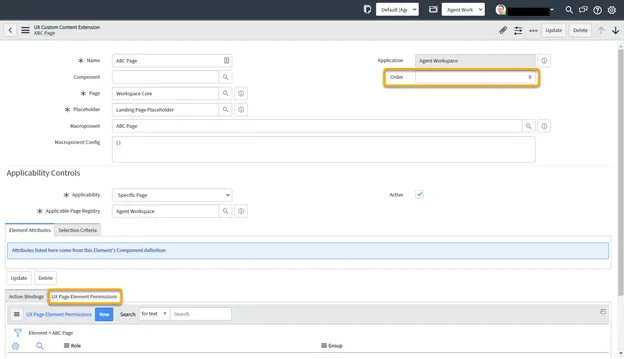
- Click the Name of the page that needs editing. It opens the page’s record where you can change the Order field or add permissions to the UX Page Element Permissions list to control access to the page.
Renaming a Page
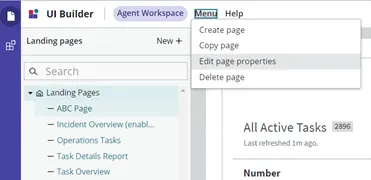
- To rename a page, open the UI Builder, select the page that needs to be renamed, and select “Edit page properties” from the “Menu” item in the banner, and give it a new name.
Dragging and Placing Components
- Building a page can get a little messy. If you use the “Save” button frequently, it will save you time.
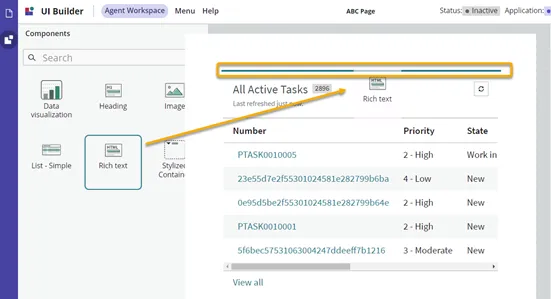
- When dragging a component over to be placed right next to another component, hover around the target area until a divider bar displays. The bar that appears shows where the component will be placed. The Rich text component in this image could have also been placed to the left, right, or underneath the All Active Tasks list.
- When placing components, note that the Stylized Container is invisible by default. You might find it useful to configure its container type, background color, or ‘show border’ settings while building the page, even if you want to hide it later.

- When adding a component between two other components, pay attention to the line that shows where it will be placed. Sometime you may be placing it in a “space” alongside another component that does not provide the look you want.
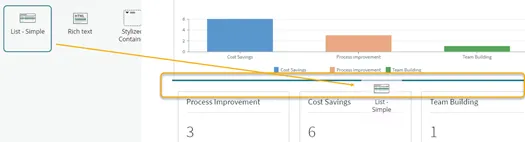
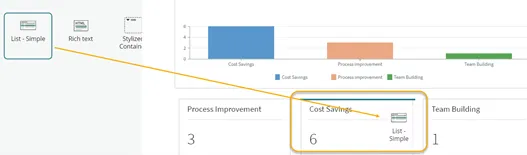
For example, in the above screenshots, you would probably not want to place a List - Simple component into a small space like that of the single score component of “Cost Savings” in the bottom image. (Note: single score components can expand to take up more space; this one is narrow because it is sharing space with two other components.) Instead, you could move the mouse pointer up a little to highlight the long bar that appears under the bar chart, as in the top image, which allows for a wider display area.
Conclusion
These are just a few items that might be helpful to someone just starting with landing page work. For more details from the documentation, see Setting up landing pages in a workspace.