Garrett Griffin-Morales
Note: This is a repurposed post from my old personal blog - however I’ve reviewed everything, and it’s still relevant, and Kingston compatible!
It’s a blast from the past to see the names of co-workers from 2014 - it’s a pleasure to be interacting with several of them more often again these days!
Every once in a while, I run into a situation where I need a list of distinct values from a table. The latest situation I ran into for this, I needed to get a distinct list of every user that had an open Project Task.
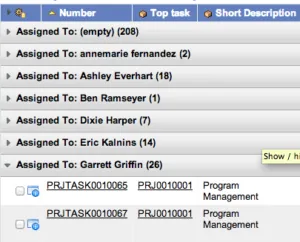
The easiest way to do this of course is to go to a list view, and sort by the field you care about. For example:
For my purposes though, I wanted to send out scripted email notifications to everyone that had an open task. As a result, I needed this information available to me through scripting, which caused me to look for a different solution.
The answer came in the form of “GlideAggregate”. This is a ServiceNow custom JavaScript object that functions very similar to the popular “GlideRecord”, with a few key differences.
GlideAggregate is built to provide the functionality of gathering basic statistics - counts, averages, maximums, and minimums. However, by employing a little creativity, we can use this power to grab all the unique values of a certain field on a table.
Consider this example below that I recently used:
var ga = new GlideAggregate(“pm_project_task”); ga.addQuery(“active”, “true”); ga.addQuery(“assigned_to”, “!=“, “”); ga.addAggregate(“count”); ga.orderByAggregate(“count”); ga.groupBy(“assigned_to”); ga.query();
while(ga.next()) { var taskCount = ga.getAggregate(“count”); gs.print(“User: “+ga.assigned_to.name+” - Number of Project Tasks: “+taskCount); }
The above code does the following things:
-
Counts how many project tasks are assigned to each user.
-
Filters out project tasks that aren’t assigned to anyone.
-
Prints out to the screen the user’s name, and how many project tasks are assigned to them.
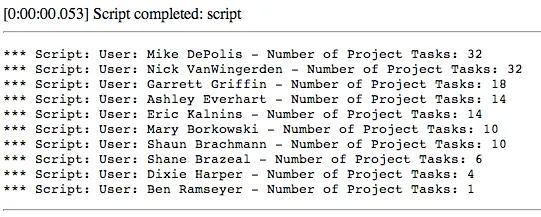
Running that code as a Background Script, gives me the following output:
Hopefully you find this useful! In the near future I’ll be posting a few other related “How-Tos”.