Garrett Griffin-Morales

There are three ways to relate tables in ServiceNow. A one-to-one relationship would be used when a record from one table is related to one record in another table. An example of this would be in a school database, each student is assigned an ID and each ID is only assigned to one student. A one-to-many relationship is when one record in a table is related to many records in another table. For example, if we had a table of customers, each customer could be related to many sales orders. Finally, we can create a many-to-many relationship. A many-to-many relationship is when many records from one table are related to many records in another table. An example of this would be a customer can purchase many products and products can be purchased by many customers. I am going to show you in the steps below how to create a many-to-many table in ServiceNow.
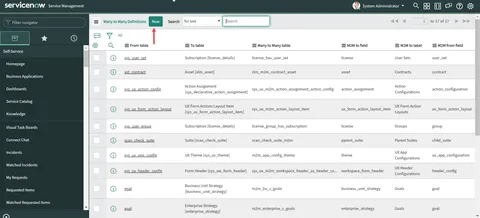
- First navigate to the m2m table. You can navigate to this table by typing “sys_m2m.list” in your left navigation filter.
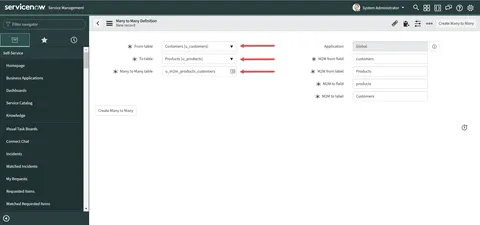
- Create a new Many-to-Many relationship table. Click the “New” button on the “sys_m2m.list” list to create a new record. The only fields you need to fill are the “From table”, “To table”, and “Many to Many table” fields. The other fields will automatically fill but can be changed if needed. I recommend filling the “Many to Many table” field with a unique name for your reference.
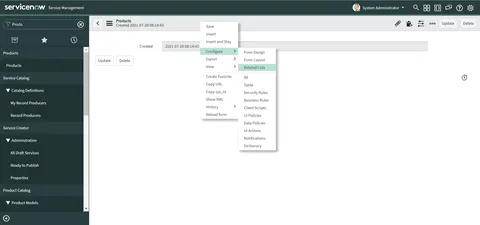
- Add the related list to your table, in this example it is the “Products” table. Click on a record within the table. If there is not one, create it. Once you are in a record, right-click in the banner and navigate to Configure->Related Lists.
Next, highlight the table you would like to add and select the “>” to add the table.
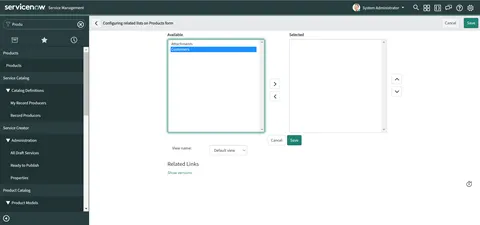
Once you click “Save” you will be navigated back to the “Products” table. You should see the related list now.
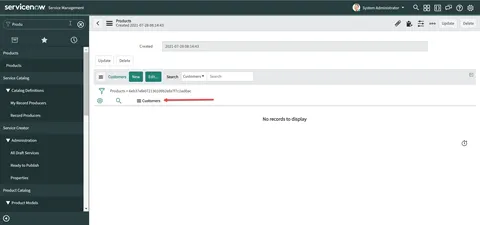
- Relate a record to test. At the bottom of the “Products” table, click “New” next to “Customers.”
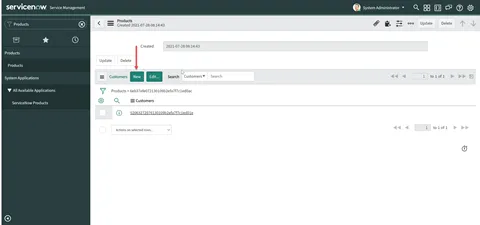
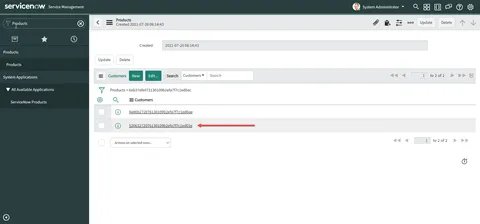
After you submit the new record, you should see the record in the related list and the “Customers” table.
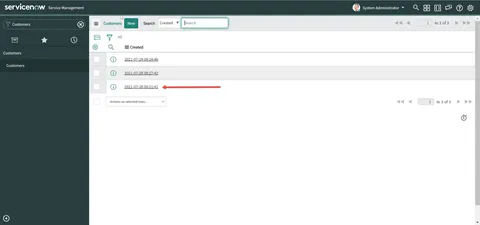
Now you have created a many-to-many relationship.