
A left-hand navigation link provides easy access to modules within applications. This helps users to quickly find information and services. There are different types of navigation links a user can create.
These types are:
- assessment
- content page
- document link
- homepage
- html
- list filter
- list of records
- map page
- new record
- run a report
- script
- search screen
- separators
- single record
- survey
- timeline page
- URL
For this tutorial, I will be creating a “list of records” link.
1) First navigate to the module you would like to create the navigation link under. For this example, I will be using the “Customers” module.
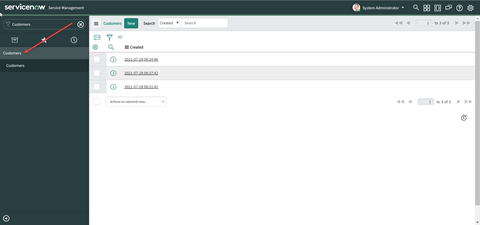
2) Click on the edit button next to “Customers”.
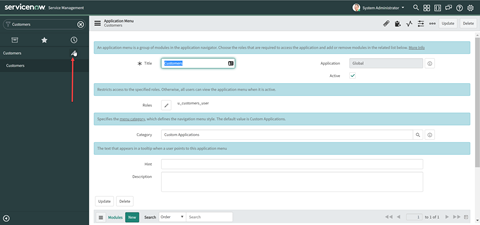
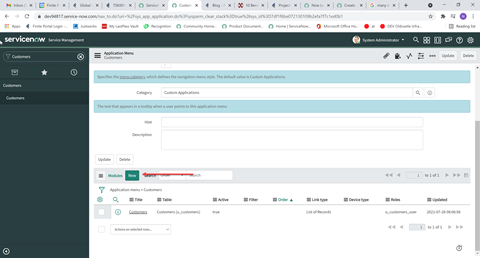
3) Once you have clicked the edit button, scroll down to the “New” button and click it.
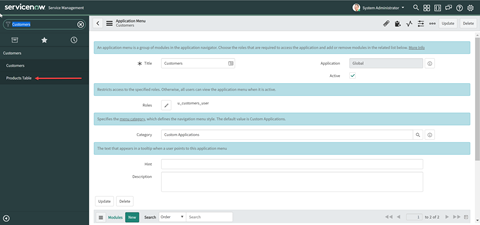
4) We will create a link to the “Products” table. Add a title for your link. I have named mine, “Products Table.” Make sure “Visibility” is set to true.
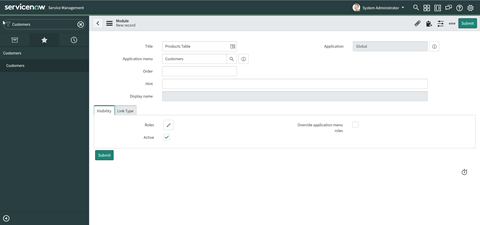
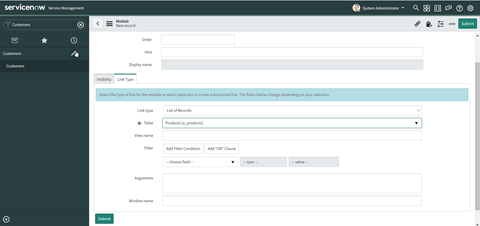
Click the “Link Type” tab. On this tab, decide the link type and the table you will be linking to.
Click “Submit” and you should now see the navigation link under “Customers”.
5) Check your work by clicking the link and ensuring it navigates to the correct table.
