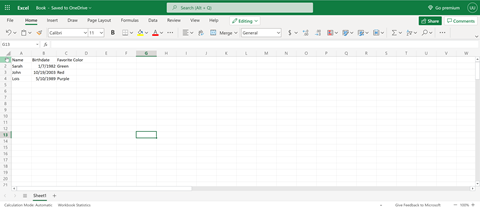
In this tutorial, we will be importing data from excel into a ServiceNow table. Here is what our Excel sheet looks like.
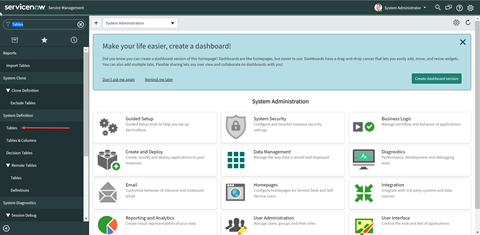
1) First, create a table by searching for “tables” and selecting the option under “System Definition”
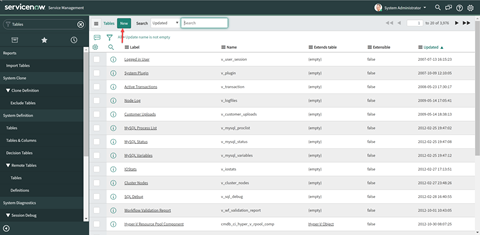
2) Click “New”
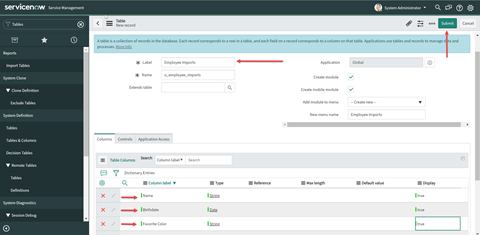
3) Give your table a name in “Label” and move down to the “Columns” tab. Add the name of each column from your spreadsheet under “Column label.” Add the “Type” of data and set “Display” to true. Click “Submit” in the upper right-hand corner.
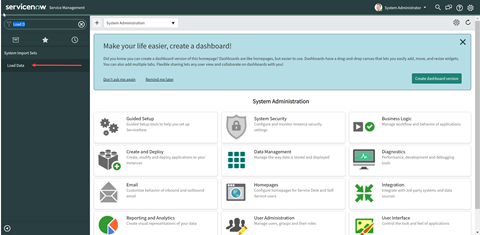
4) Search for “Load Data” and select the option under “System Import Sets”
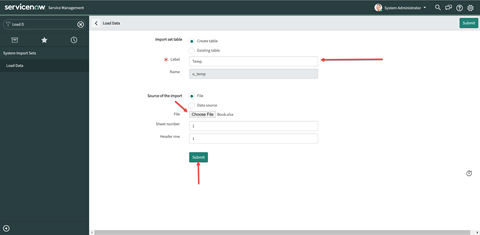
5) Create a name for your table and choose the file you will be importing from. Click “Submit.”
6) On the next screen, select “Create transform map.”

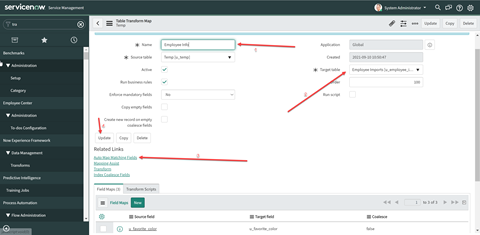
7) (1) Create a name for your map. (2) Select the target table for your import. This is the table we created in step 3. (3) Select “AutoMap Matching Fields” and you should see the fields from your table populated in the “Field Maps” table below. (4) Click “Update”
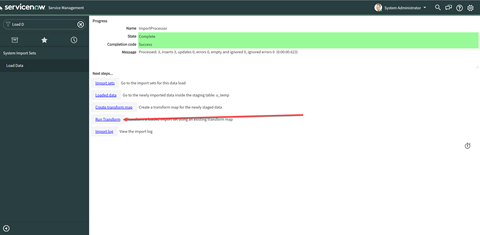
8) Select “Run Transform” from the next screen.
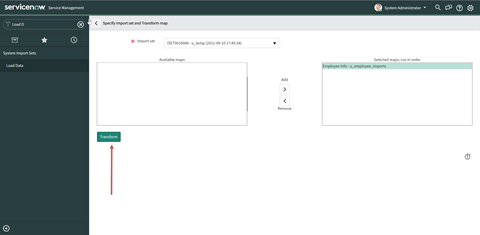
9) Select “Transform” after ensuring the correct import set is selected as well as the selected map.
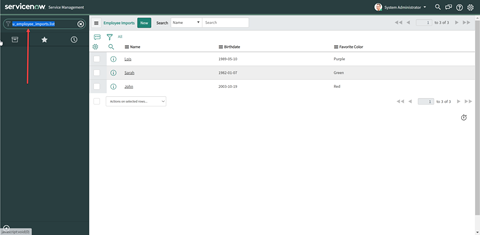
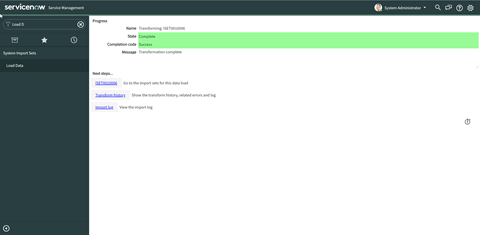
10) You should see the following screen after selecting “Transform.” Let’s check to make sure the data is imported correctly. In your left-hand search type the name of the table.list i.e. u_employee_imports.list
11) You should see the data from your excel sheet within your created table.